I didn’t feel that I understtod the ovals in the battery drawing so I did a few more abstract studies to see what happens to ovals when they change angles. Eventually it struck me that they change width and the axis changes.
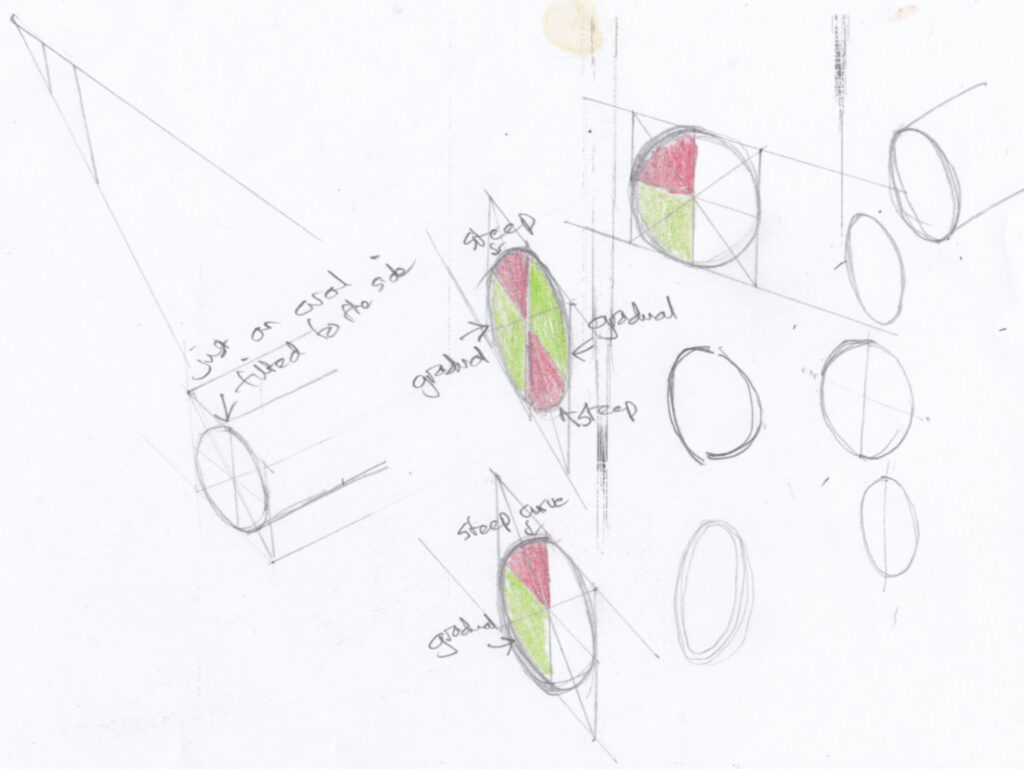
A record of my 'picture a day' challenge
I didn’t feel that I understtod the ovals in the battery drawing so I did a few more abstract studies to see what happens to ovals when they change angles. Eventually it struck me that they change width and the axis changes.
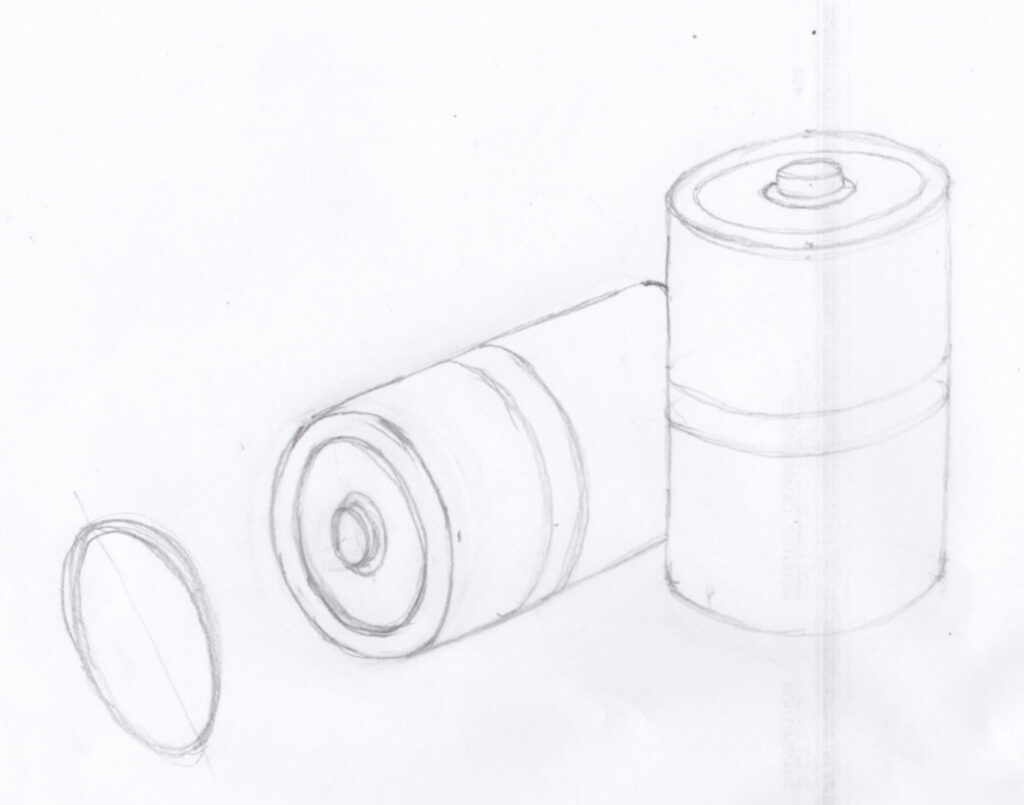
More practice drawing ovals. The battery at the angle on the table was particularly tricky. You have to be careful that the axes of the ovals are right as well. The base of the upright battery doesn’t have the same tilt as the ovals above it.
I’m going to practise drawing ovals for a whie until I feel I’ve got it. Here the angle of the second oval down is wrong.
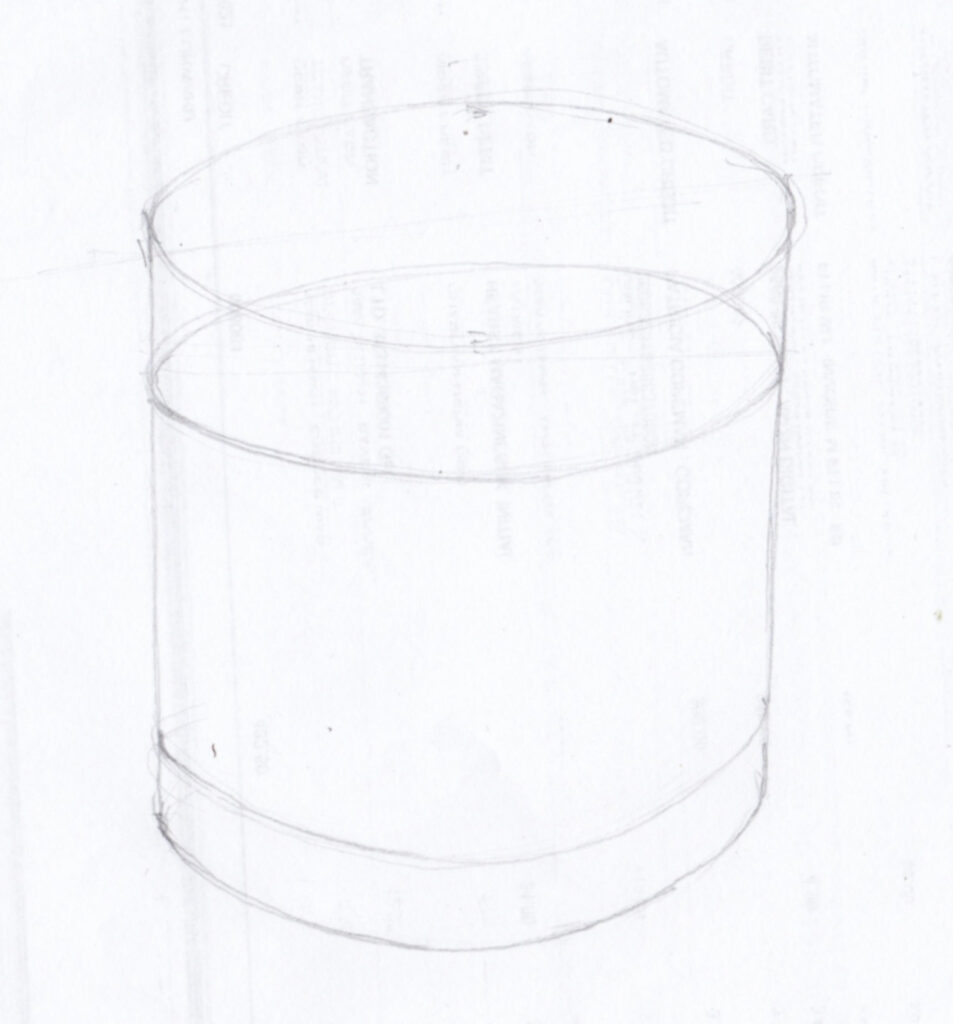
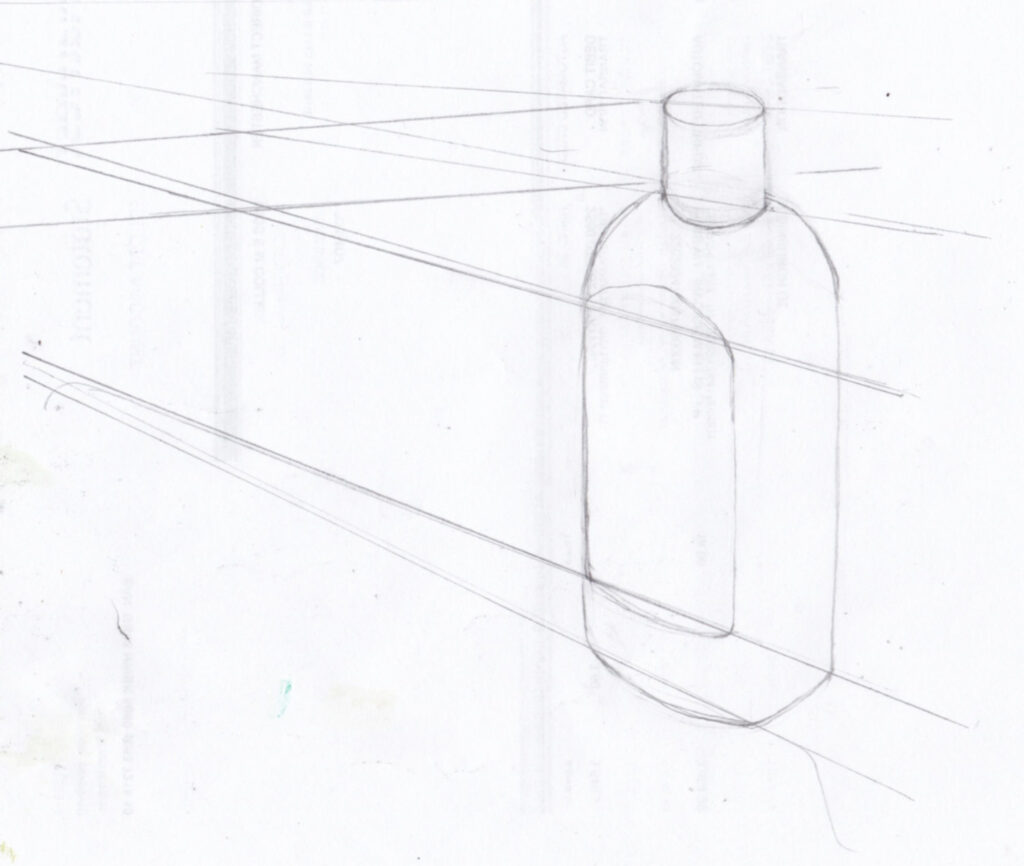
I drew some perspective lines but the vanishing point was way off the page so I’m not sure how accurate they are. Still, you can see how the top is at the wrong angle.

Next I redrew the top. It looks better now. So it’s worth checking the perspective lines, even with the side of a pencil on the paper, to spot gross errors.
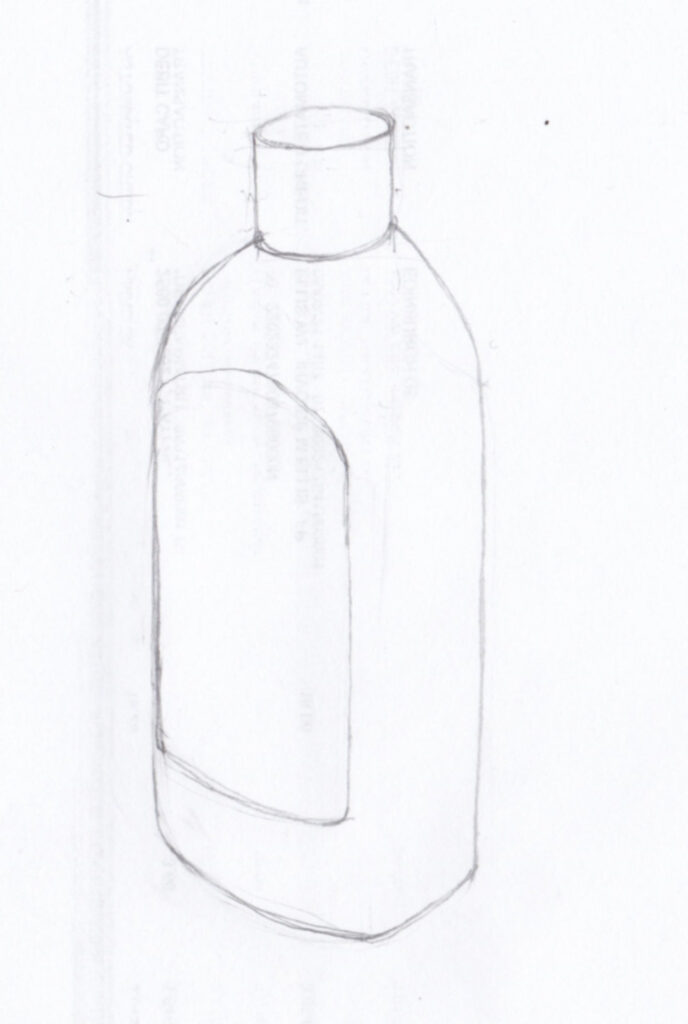
A tricky one because of the shape of the bottle and the label. I drew the top at the wrong angle and the slope on the label isn’t right. Again, it helps to draw guide lines but I want to arrive at a stage where I don’t have to do that.
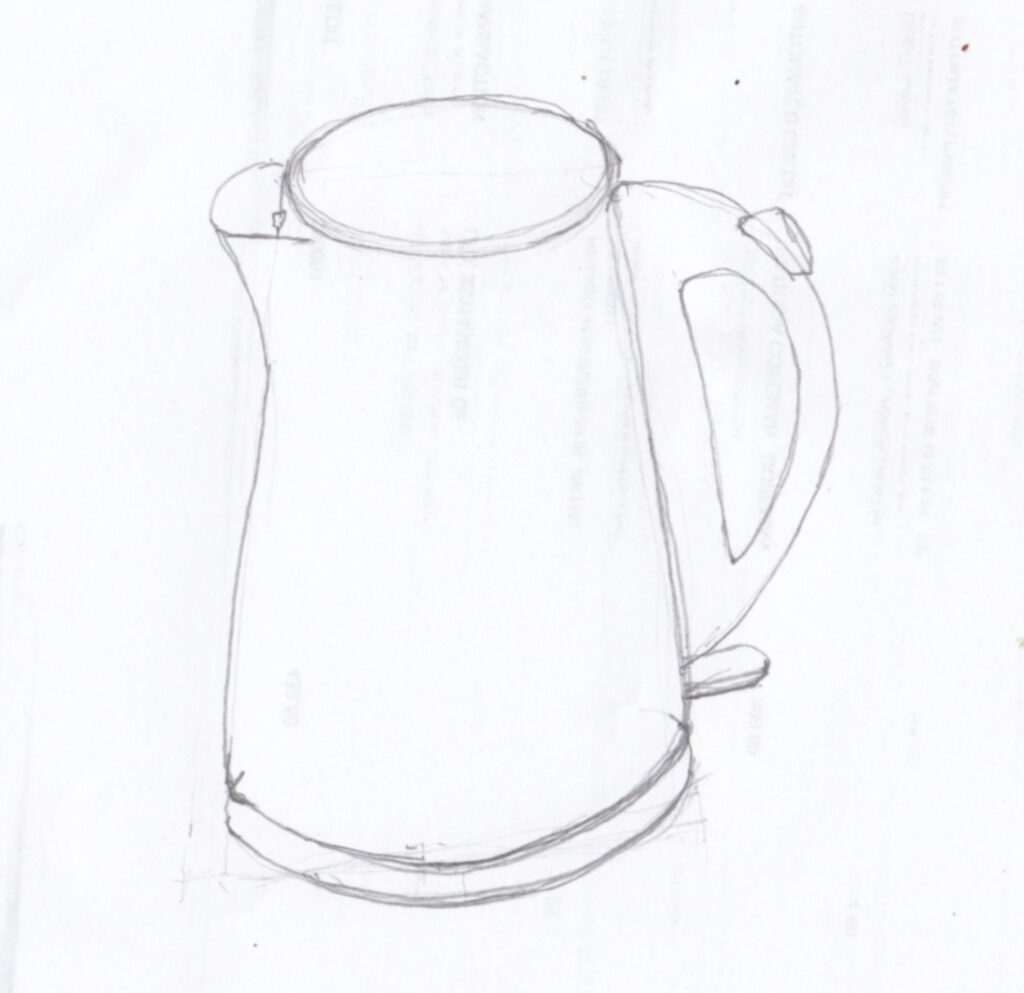
Moving into the real world, drawing actual objects with ellipses in.
One thing to watch out for when you draw the ellipse is to make sure you know which edge the ellipse represents. This kettle lid had two lips – which one is the ellipse going to represent?
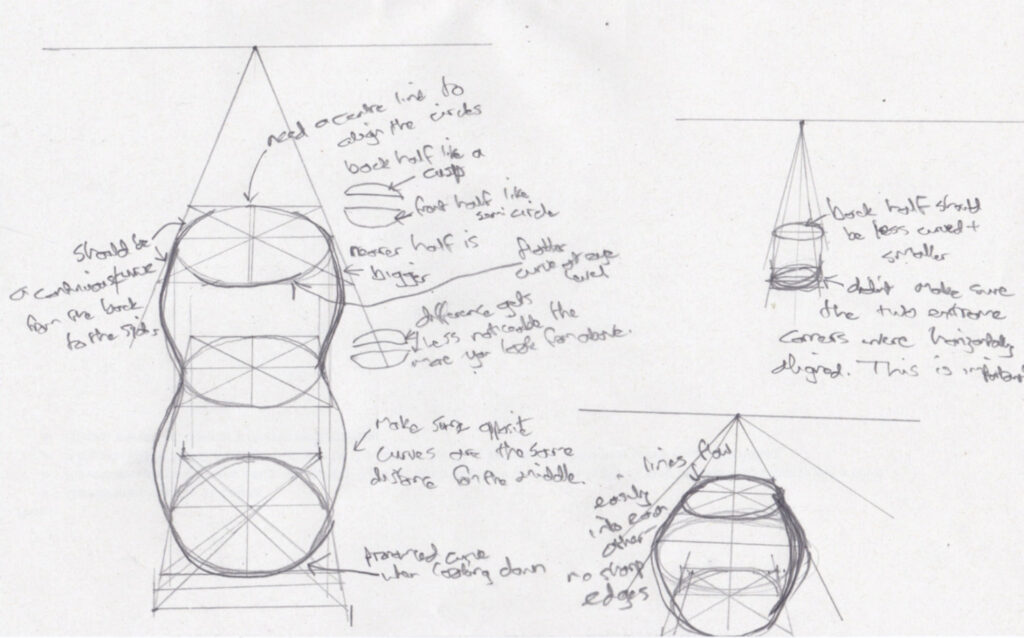
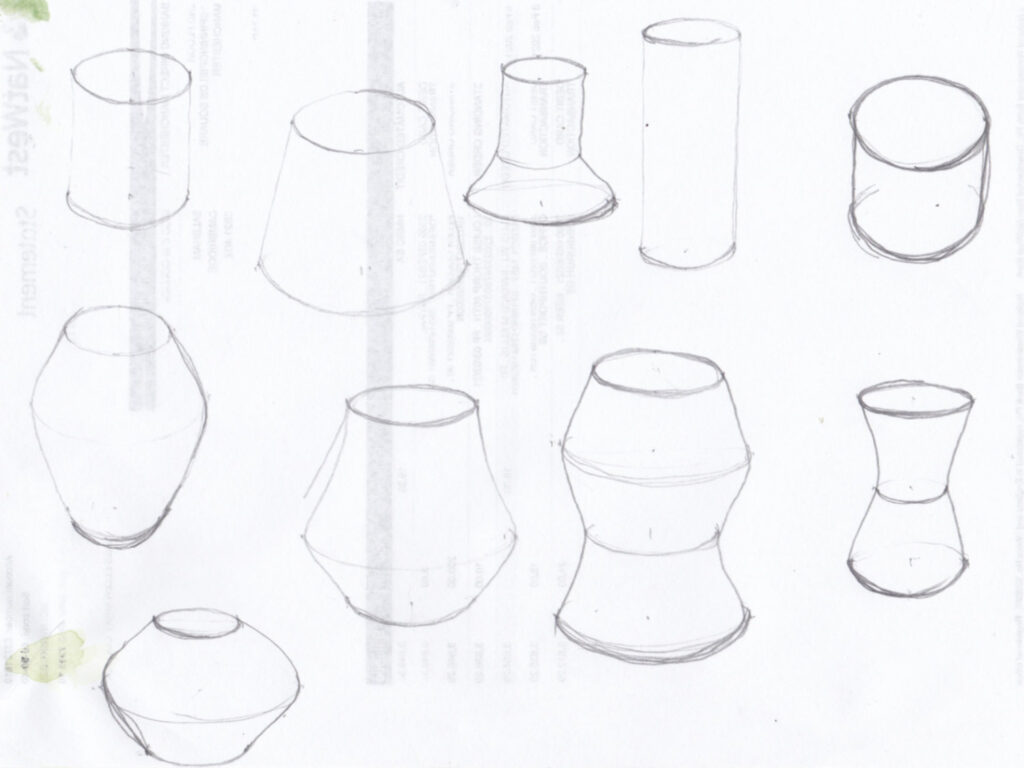
Some fictional shapes to see ho the ellipses might work in drawing objects. Be careful to establish the centre line down through the object, and ant tilt of the object. It’s surprising how little the curve of the ellipse changes between the top and bottom of the object. If you make it too curved (like the bottom right object) then the shape looks odd.
A page of ellipses at different angles. The key things to remember are:
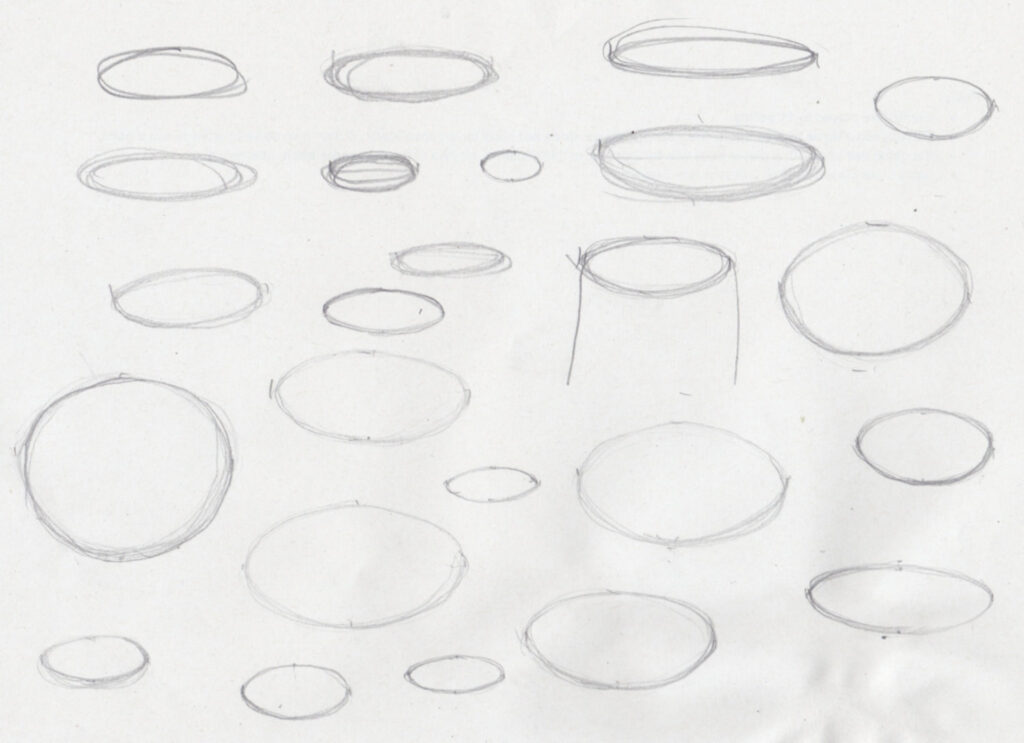
Practice some ellipses at different angles.

Just revisiting the perspective theory around ellipses. So the crucial things are: